
Titan Locker
Creating a token lock
A step-by-step walkthrough of the four-step token lock creation flow.
Open the Create page from “Lock your tokens” on the home page or the Locker page. The create panel has two tabs — “Tokens & Vesting” and “LP Position (V3 / V4)”. Under Tokens & Vesting a type selector switches between a Token / LP lock and a Vesting schedule; this page walks through a Token / LP lock. For vesting see Creating a vesting schedule, and for Uniswap positions see Locking a Uniswap V3/V4 position.
With “Token / LP lock” selected, the flow has four steps.
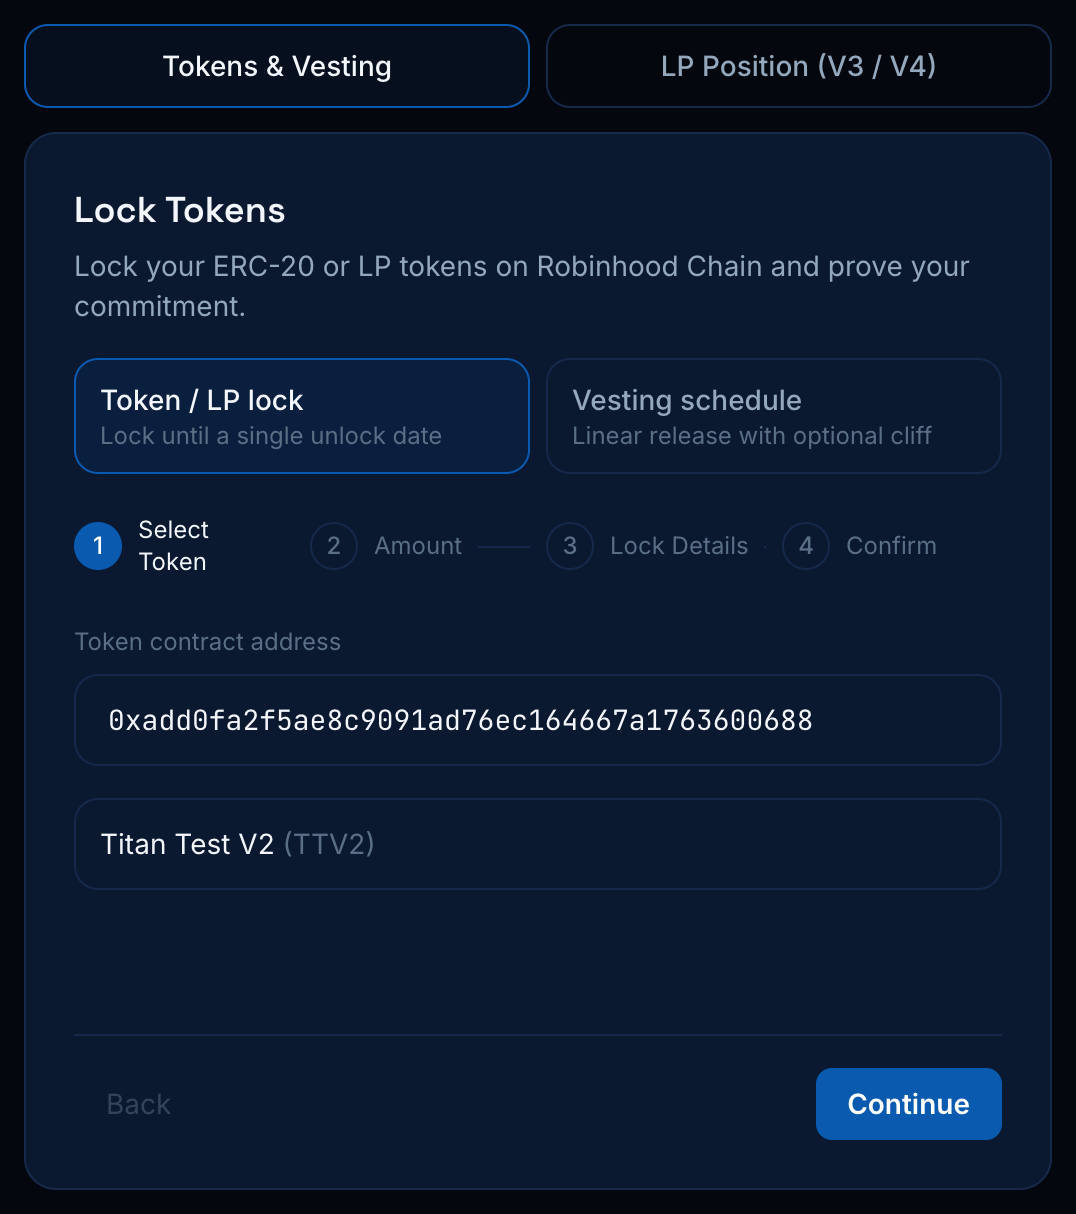
1. Select token
Paste the ERC-20 or LP token's contract address. Once it resolves, its name and symbol appear below the field.
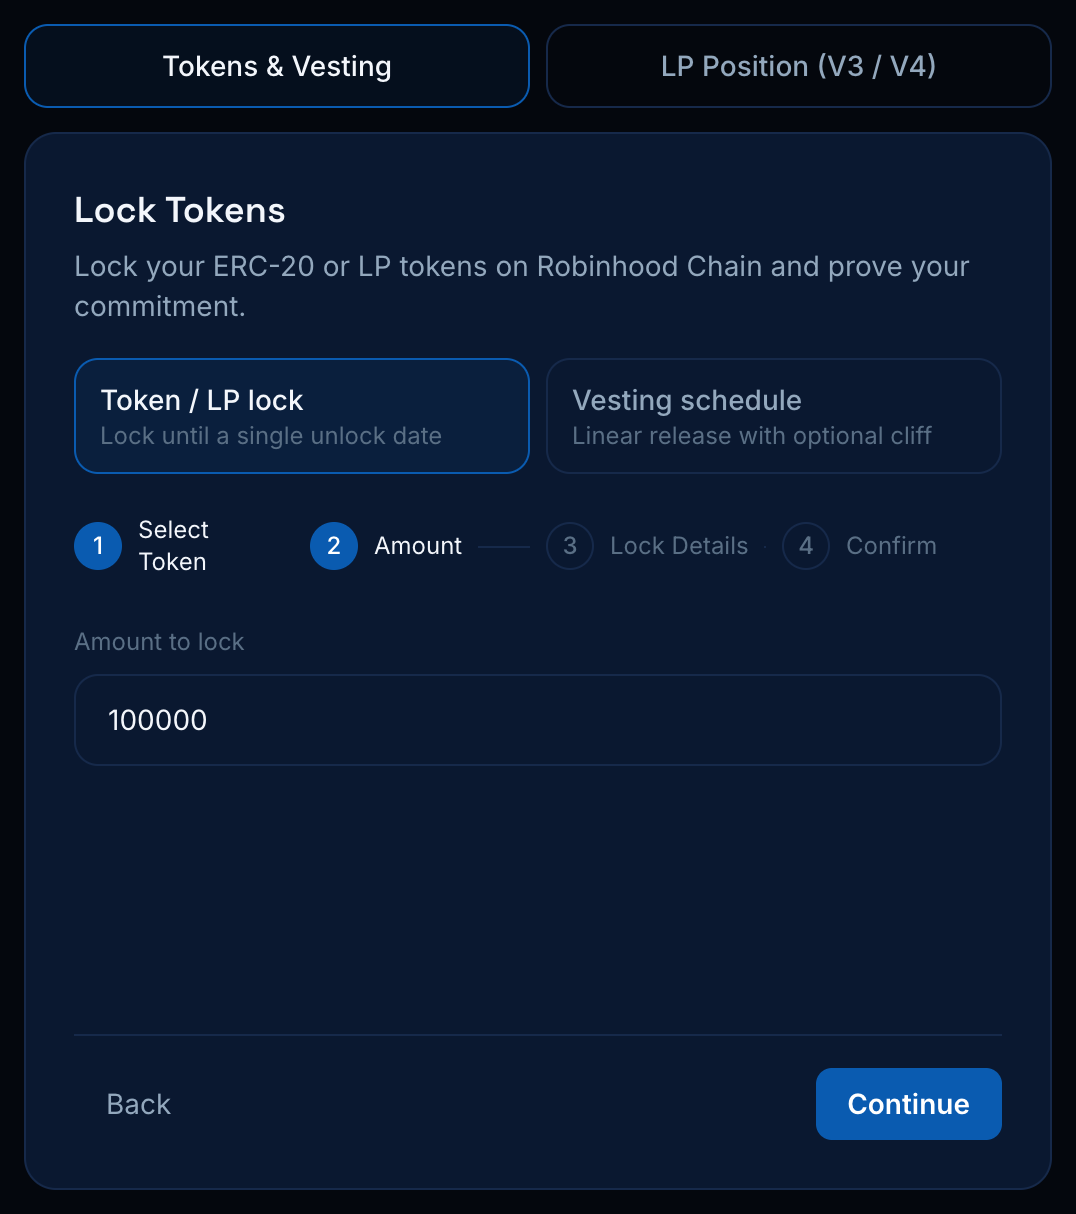
2. Amount
Enter how much of the token to lock. This is the raw amount before any in-kind fee is deducted.
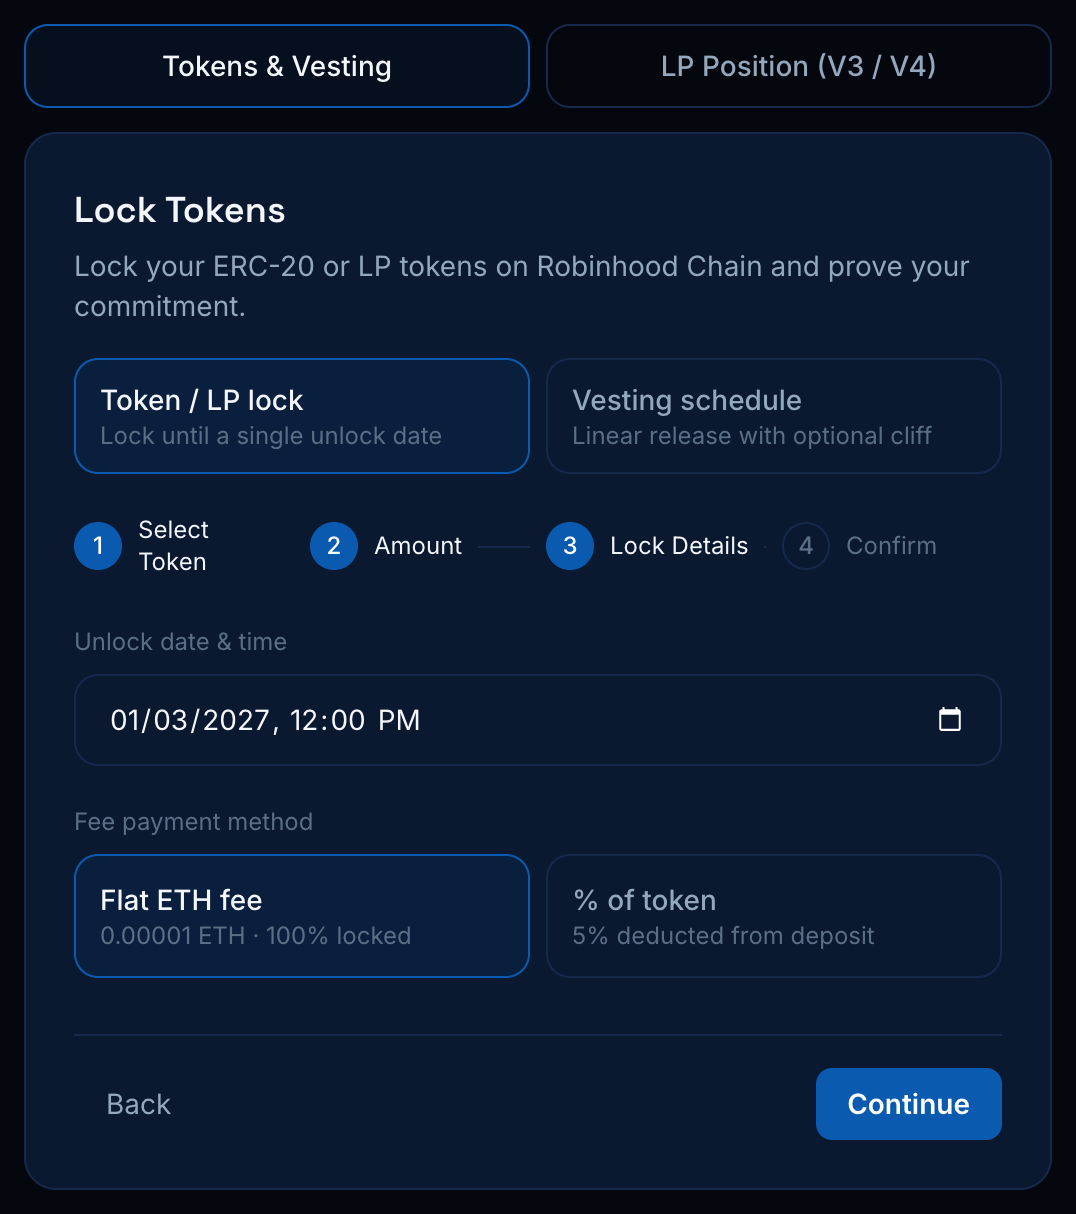
3. Lock details
Pick the unlock date and time — any point in the future works, down to the minute — then choose how to pay the lock fee:
- Flat ETH fee — pay a small fixed amount of ETH and 100% of the deposited tokens get locked.
- % of token — no ETH needed; a small percentage is deducted from the deposit and the rest is locked.
4. Confirm
Review the summary — token, amount deposited, fee, final amount locked, and unlock date. If this is the first time locking this token, approve it for the Titan Locker Manager contract first, then confirm to lock.
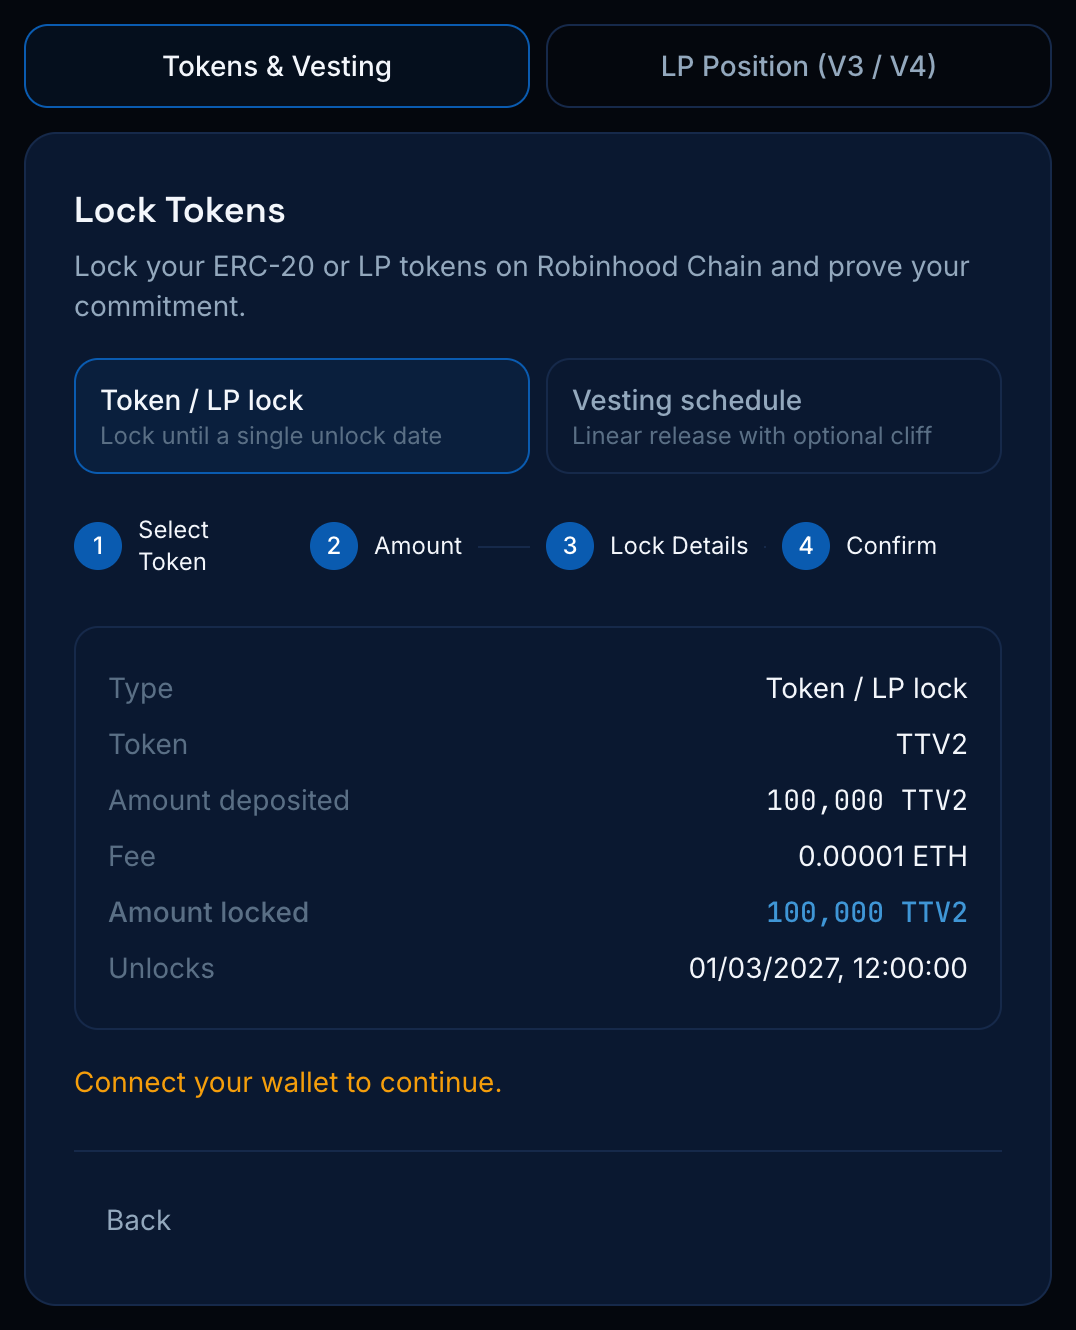
Double-check the unlock date before confirming. Once a lock is created, tokens can't be withdrawn early — that's what makes the lock meaningful.